 $500 Business Grant – Seed funding to help kick-start or grow a young entrepreneur’s business idea.
 Mentorship & Coaching – Learn directly from Jeremy N. Fyfe, a seasoned entrepreneur, and gain insights and guidance from business professionals.
 Business Development Guidance – Receive expert advice on how to turn an idea into a thriving business.
 Financial & Strategic Planning – Understand the basics of budgeting, marketing, and business operations.
 Networking Opportunities – Connect with other young entrepreneurs and industry professionals to build strong networks and collaborations.
 Contact us at 856.350.4864
  Follow us for updates: https://www.instagram.com/glspainters/
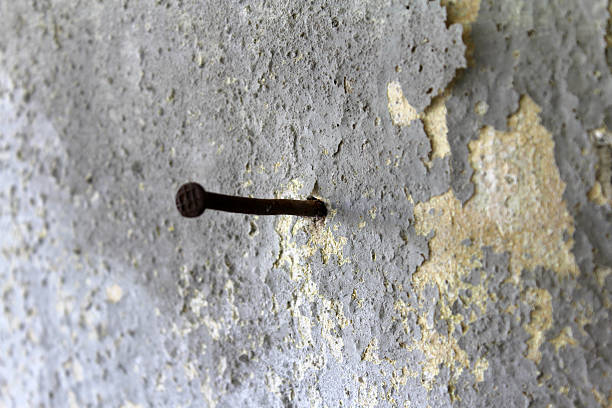
In the South Jersey area, we have a lot of construction homes. This comes with a lot of drywall failures. In many cases, nail pops are the usual home failures that need detailed attention. In line with this concern, GLSPainters take the initiative to provide you with a personal home guide made easy to fix nail pops in your ceiling and walls.
Take a look at your drywalls right now, see if you can find some black circle heads bugging out randomly on the wall, that’s a nail pop. Mostly, homeowners hate nail pop especially when they are coming out the wall. It can even crack the paint and ruin the beautiful uniform aesthetic ambiance of the wall.
Fortunately, GLSPainters know how to fix nail pops in drywall quickly and easily. So, read below the 5 easy tips to ensure error-free in fixing nail pops in your home.
📝: PRECAUTION BEFORE FIXING NAIL POPS! WEAR SAFETY GLASSES

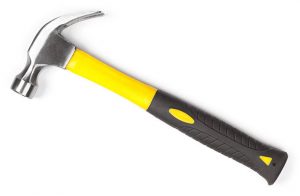
HAMMER
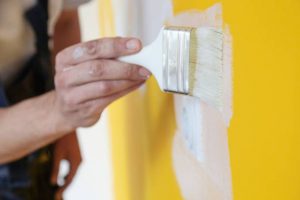
PAINT
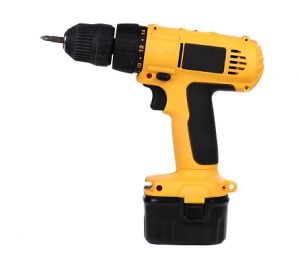
SCREW GUN
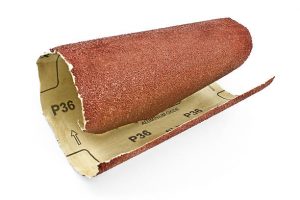
SANDPAPER
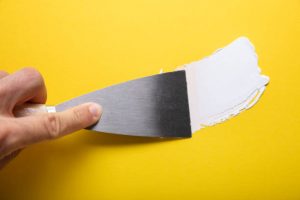
SPACKLE TOOLS
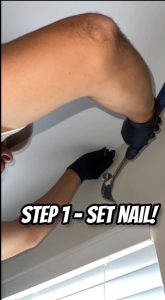 First, we must secure the drywall.
You can use a scraping tool to get the paint from the screw head.
Also, remove the existing nail or hammer it in.
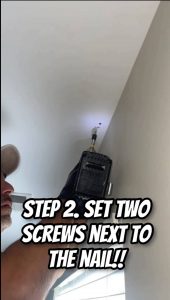
2. SET TWO SCREWS NEXT TO THE NAIL
In this phase, you might need to use a screw gun and then follow that with two drywall screws. To ensure that the nail pop won’t return. Check to make sure that the surface is flat because we don’t want the screw heads popping out.
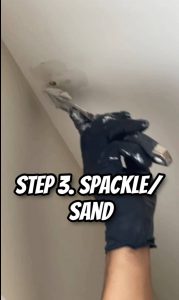
3. SPACKLED/SAND
If you want it even on the surface of the wall, you have to sand it down.
This will make sure that when we paint, we can’t see the patches.
Once you are done with the above process, you will proceed to “painting” your drywalls. This is to ensure that you will achieve the uniformity of your walls again and to get that amazing look on your walls. Lastly,
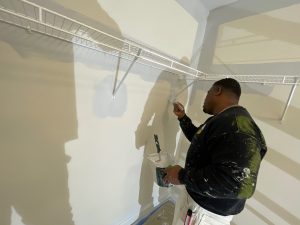
5.THE EASIEST WAY
The easiest way o do the entire process is just #dontstresscallgls💆🏽
